The printing process can be started after the designs have been positioned on the platform and the errors and warnings have been addressed.
Click the “Send to 3D Printer” button to do this. A new dialogue box will then open, displaying the overview of the designs positioned on the work platform.
The “Download Print Dummary” button can download a PDF with detailed information about the current printing process to the computer. This PDF lists information that will be described further below.
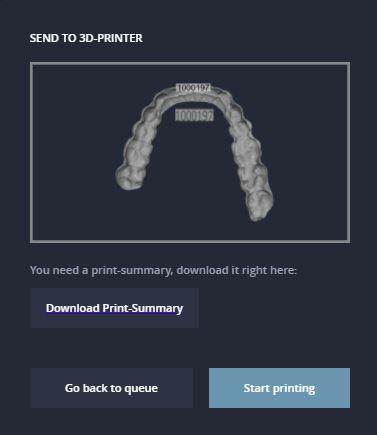
If you do not wish to print, you can use the “Go back to queue” button to return to the previous view. The print job will be sent to the printer when you click the “Start printing” button.
Print Summary
The print summary’s file name includes the IDs in the print job. The job details can be found in the document itself.
- Dental clinic/laboratory name
- Dental clinic/laboratory address
- Person responsible
- Job number (must be filled in manually)
- List of patient IDs whose cases are included in the print job
- Print date
- Printer used
- Maintenance and calibration information (must be filled in manually)
- Material used
- List of the designs included in the print job
- Image of the designs on the work platform