Click the “Create Case” button at the top right to create a new case. The Assistant will guide you through the necessary steps:
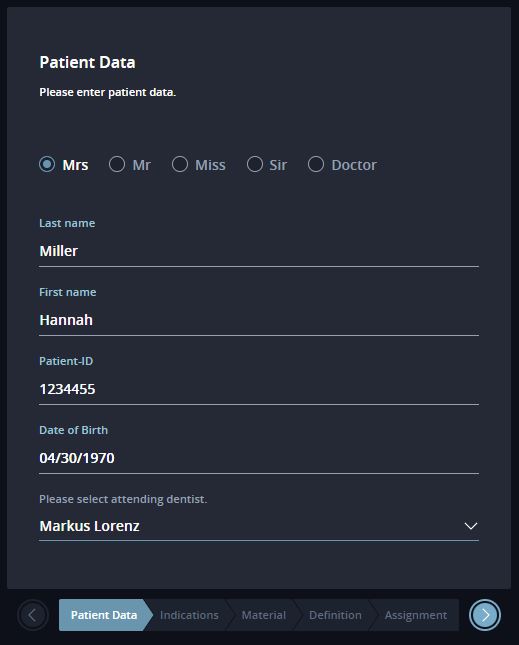
Patient data
In the first step you will be asked to enter the patient data. Note that the wizard will not allow the next step (blue button bottom right) until you have entered all mandatory fields:
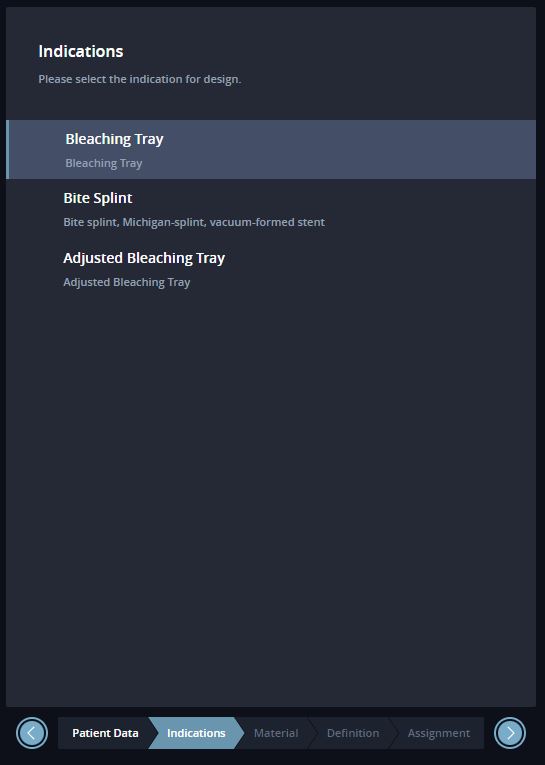
Indications
The indication determines what will subsequently be produced for this patient. The entire rest of the workflow depends on this selection:
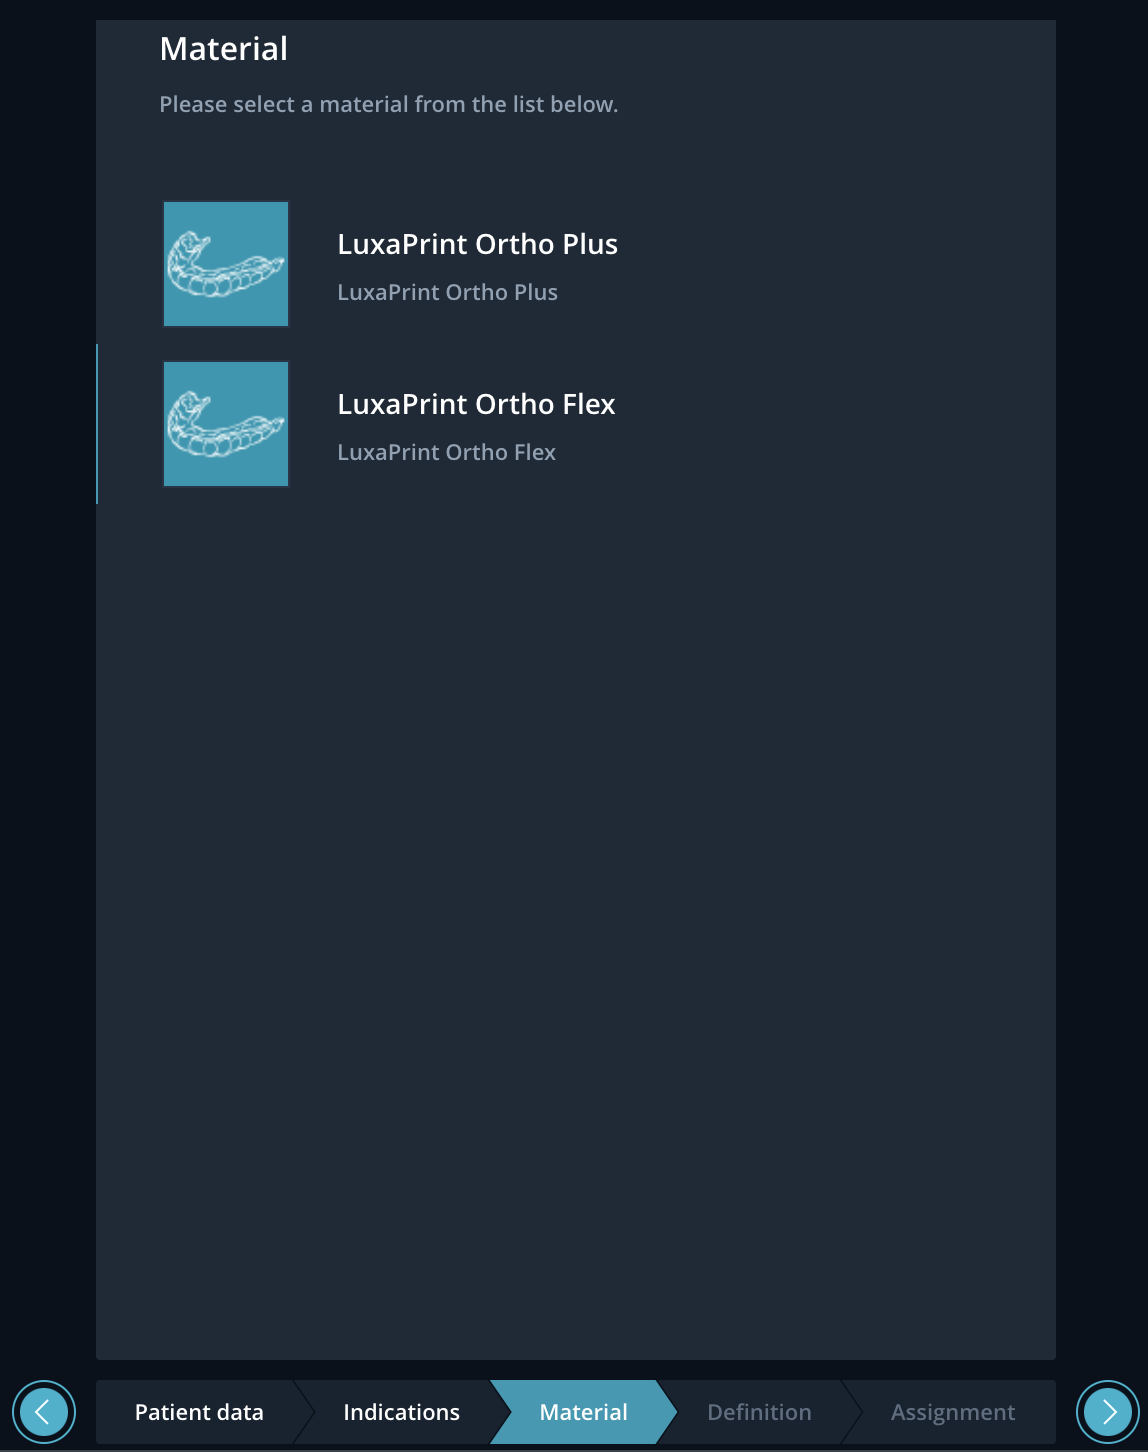
Material
In the following dialog, you select the desired material with which the workpiece will be printed later. In addition to the material, the layer thickness available for the selected material is also set here. If you delegate the case later, then this setting will also be displayed to your design or production partner:
Definition
Definition, in this case, means the selection of the upper or lower jaw:

Assigment
As part of the assignment, you can now check whether the treating doctor is selected correctly and, if necessary, add remarks:

Case summary
The summary is the last step in the Assistant for creating a new case. You can still make changes or return to a previous step here:

Save and Close creates the case and takes you back to the Dashboard.
Alternatively, you can continue in the workflow and upload the scan files.