After the designs have been added to the print queue and arranged on or next to the work platform, they can be placed before starting the 3D printing process. There are two ways to do this:
- Automatic positioning using the Arrange button in the dialogue box on the right edge of the screen.
- Manual positioning using the mouse, arrow buttons, and entering values.
Automatic positioning
After clicking on the “Arrange” button, the following dialogue box opens:

This will display how the designs are automatically arranged on the work platform. A corresponding message text will be displayed if all the designs do not fit on the platform.
This arrangement can be accepted using the “Apply” button or declined using “Cancel.” The Arrange button can then be used to begin a new positioning process.
Manual positioning
Double-clicking on a design starts the process of manually positioning designs. The X and Y positioning parameters and rotation come up on the right edge of the dialogue box.
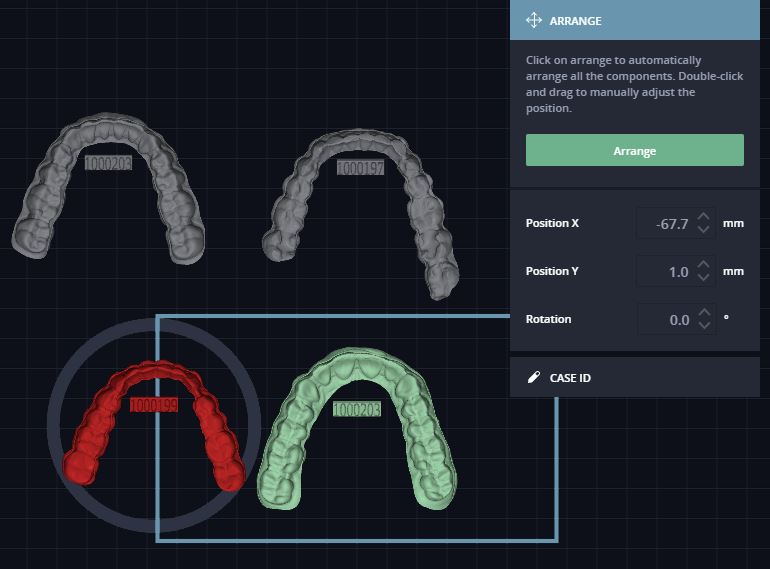
You can now use the mouse to move the designs on the platform or into and out of it. If you do not want to use the mouse, enter the values in the dialogue box or move the designs using the arrow buttons.