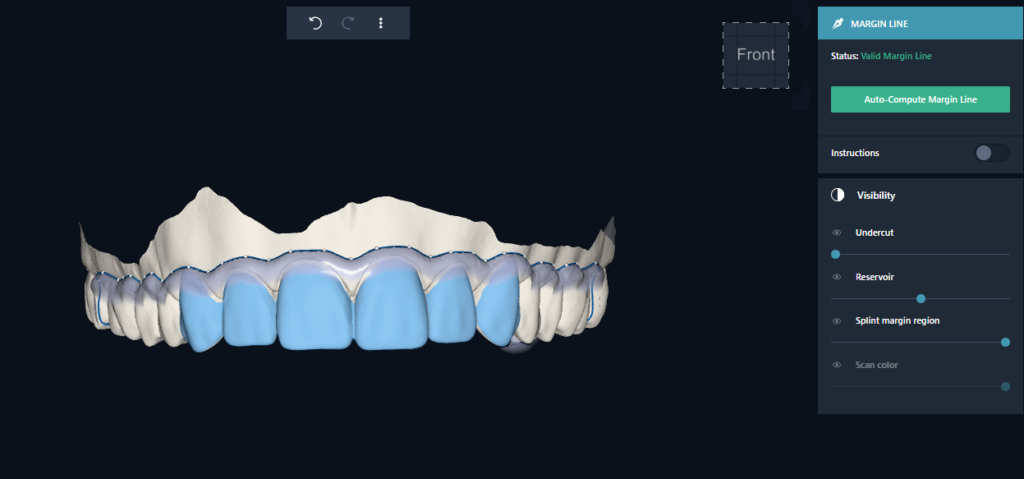
In this step, you define the edge line of the rail by placing individual points or simply by clicking on “Auto-Edge Line.” The first point is always displayed in green, while the points that the mouse is pointing to are always highlighted in yellow.
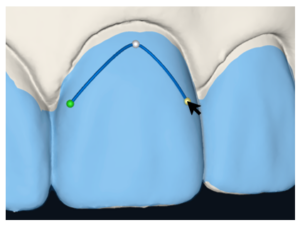
To move a point, click on the point with the mouse and hold the mouse button down. You can then position the point anywhere.
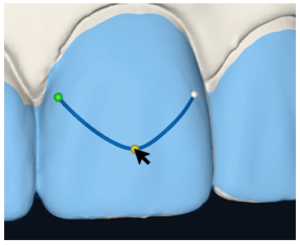
If you want to add an additional point between the existing points, hover over the blue edge line and click with the left mouse button. You can now move the new point freely, and the edge line will be automatically interpolated between the neighboring points. Please note that you can only add new anchor points on the visible edge line.
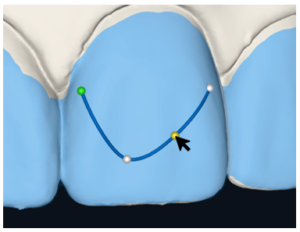
To delete an existing point, click on it with the mouse and press the “D” key (for Delete) on your keyboard.
When you connect the last point to the first point, the edge line is closed and the calculation is performed automatically.
Alternatively, the edge line can be closed by double-clicking with the mouse.
By clicking the “Auto-Edge Line” button, a suggestion for an edge line is generated. This suggestion can be customized using the methods described earlier.
