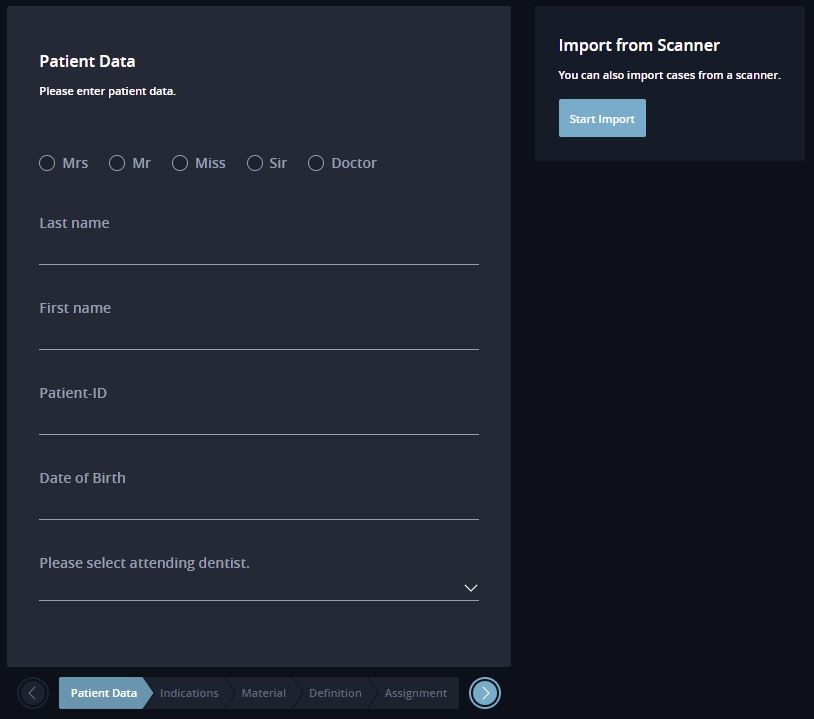
Click the “Start import” button at the top right to create a new case by importing from a scanner.
Patient Data
In the first step, you will proceed just as you would when creating a new case, as described above. A “Start import” button will be next to the patient data dialogue box. Use this button to start importing cases from a supported scanner.

Select Files
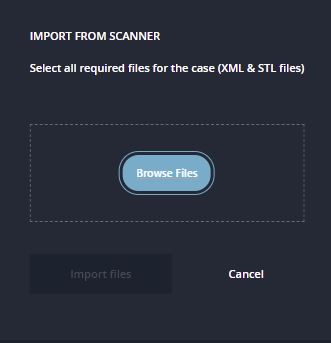
You must first select the files (XML, STL, PLY…) saved via the scanner.

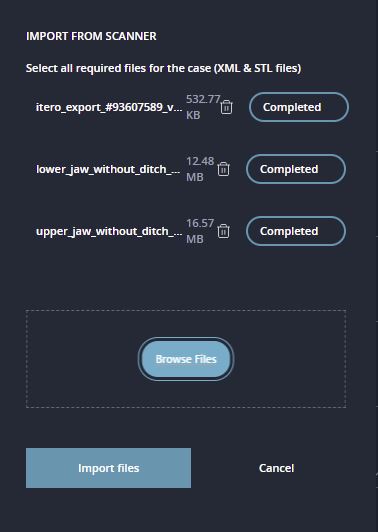
After you click the “File search” button, you can navigate to the desired directory with the scanned data in the dialogue box now displayed. Select an XML file (the one with the highest version number, e.g., itero_export_#93607589_v24.xml) and all associated and relevant image and scan files. Multiple selections are possible here.
Then, click the “Open” button to upload the files to DentaMile connect.

This import step will be concluded by clicking the “Import files” button.
Match Patient Data
The patient data mask will now be pre-filled with the information from the XML file. Other patients with similar data already available in DentaMile connect will also be displayed on the right of the dialogue box. The following image shows anonymized patient data, which are identical in terms of the first name and surname and differ only by the patient ID:

When you click on a patient found in the system, their data will be applied to the screen, and the information from the scanner import will be overwritten. This step can be undone again by clicking the “Reset” button.
Save
The following process steps are identical to the standard way of creating a case and differ only in the last step:

Since the uploaded scans have already been selected earlier, a case overview will only be displayed in the last step with the option to save this case and finally upload the scan files.
You can finish this process by closing the tab for creating a case.